Can You Do a Self-Tape Alone?

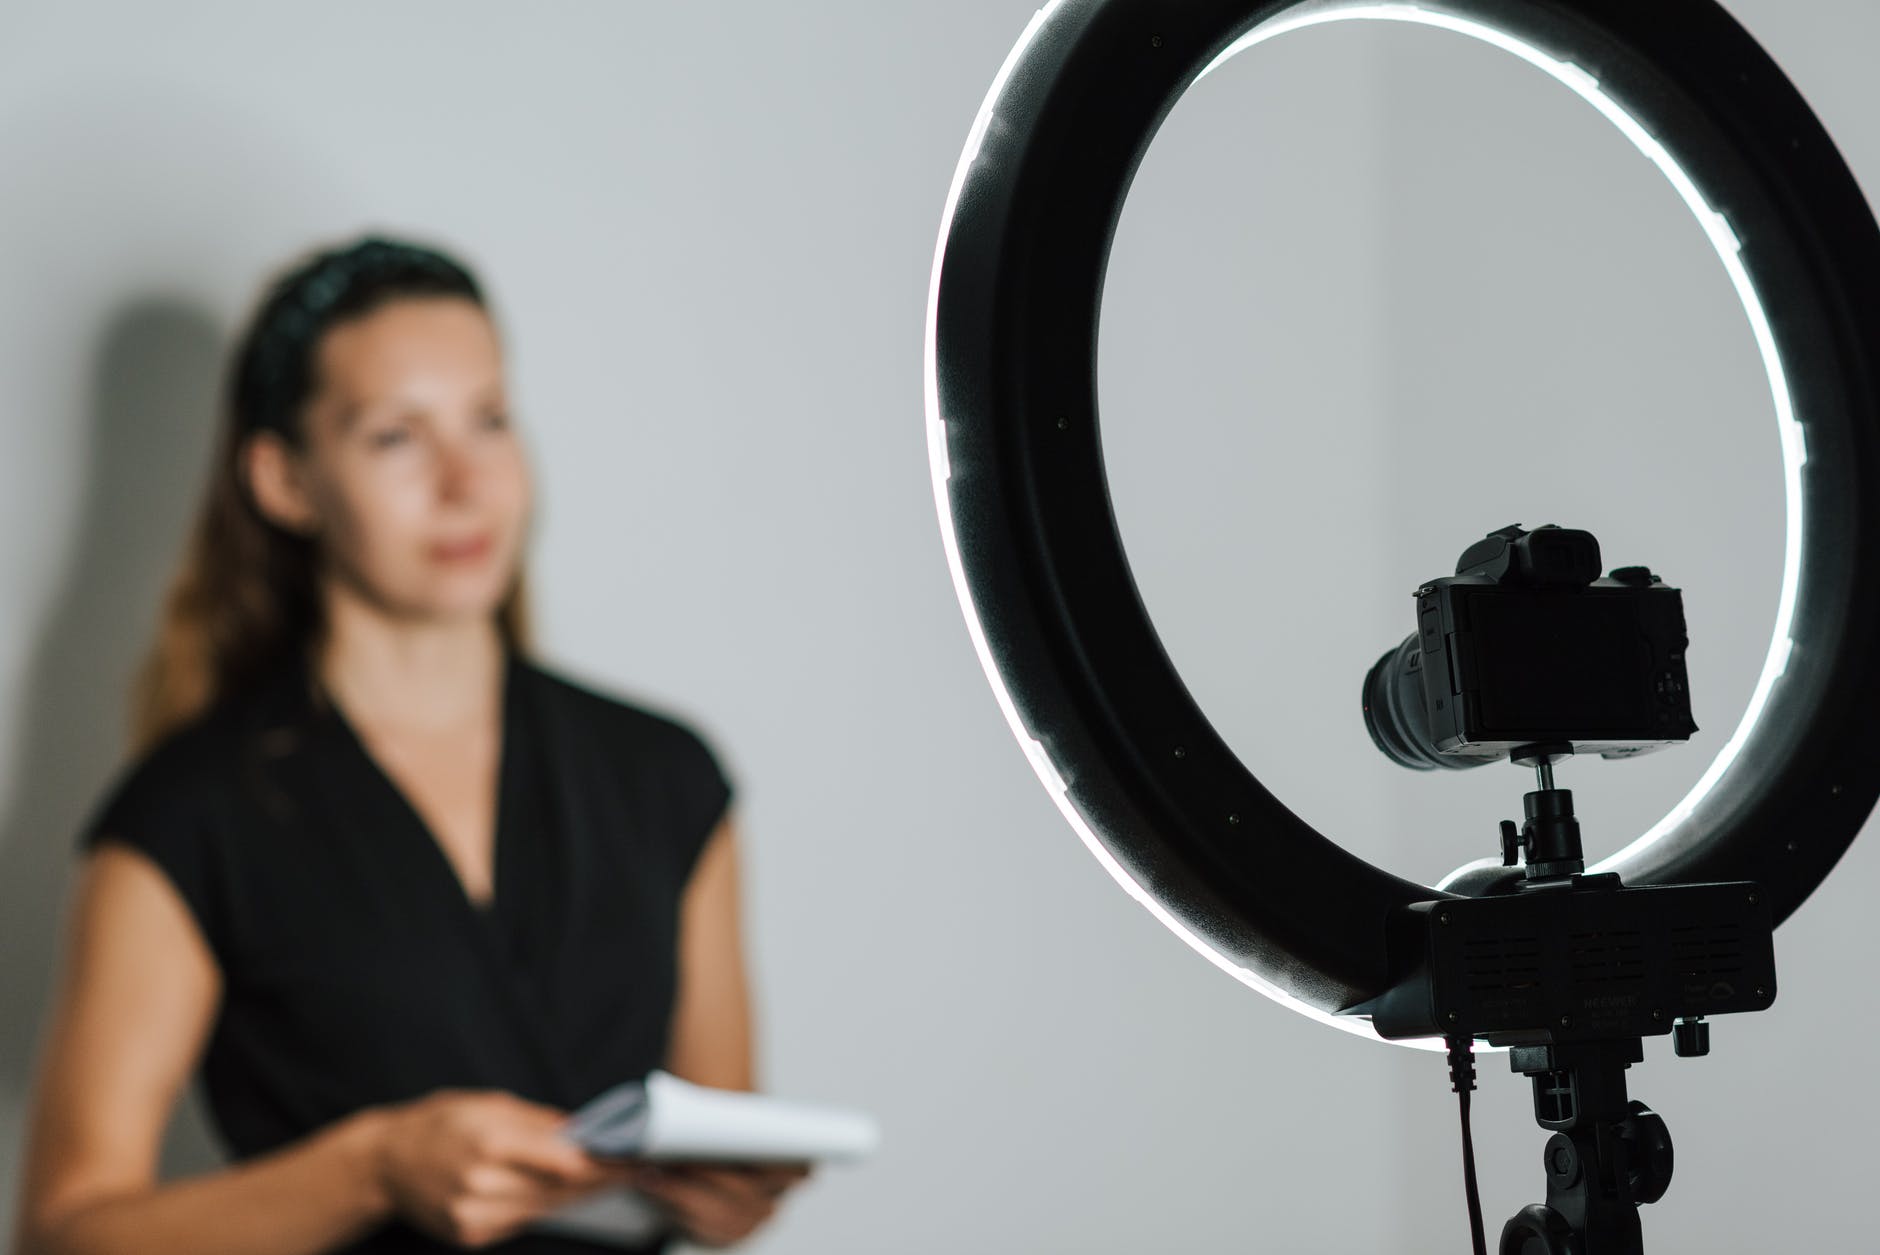
(Photo: Anete Lusina | Pexels)
In the age of digital auditions and remote casting, self-tapes have become an essential part of the audition process for many actors. These video recordings allow actors to showcase their talents from the comfort of their homes, making auditions more accessible and flexible. But one question many actors ask is, Can you do a self-tape alone? The answer is yes, with the right preparation, equipment, and mindset, it’s entirely possible to film a professional-looking self-tape on your own. Let’s dive into how you can successfully create a self-tape by yourself.
1. Understanding the Importance of a Self-Tape
Before we dive into the practicalities of filming a self-tape alone, it’s important to understand why it’s such a valuable tool in the audition process. A self-tape allows you to:
- Submit auditions remotely for roles that may require travel or auditions that are not local.
- Perform at your own pace and take time to perfect your lines or character without the stress of a live audition.
- Expand your opportunities, auditioning for roles in multiple cities or even countries without leaving your home.
Now that we know the value of a self-tape, let’s explore how you can do it solo.
2. The Right Equipment for a Self-Tape Alone
When filming a self-tape by yourself, having the right equipment can make a world of difference. Here’s a basic setup to ensure your video looks professional:
- Camera/Smartphone: A smartphone with a good-quality camera is often more than enough. Ensure your camera is set to the highest possible resolution. Most modern phones can shoot in HD or even 4K, which is ideal for a crisp and clear video.
- Tripod or Stable Surface: A tripod is essential for keeping your camera steady and at the right angle. If you don’t have a tripod, improvise by setting your phone on a stable surface, like a stack of books, to maintain a stable shot.
- Lighting: Proper lighting is key to a professional self-tape. You don’t need a fancy lighting setup—natural light is great if you have access to it. Position yourself near a window or use inexpensive softbox lights or ring lights for even, flattering lighting. Avoid harsh overhead lights or backlighting, which can create shadows or make you appear washed out.
- Microphone: While many smartphones have built-in microphones, the sound quality can sometimes be inadequate. If possible, use an external microphone (like a clip-on lapel mic) for clearer, crisper audio. If you can’t, ensure you record in a quiet space to avoid background noise.
3. Setting the Scene: Background and Framing
When filming a self-tape alone, it’s crucial to control your environment:
- Background: Choose a simple, neutral background that doesn’t distract from your performance. A plain wall, a clean room, or a curtain works well. Avoid cluttered spaces or distracting elements behind you.
- Framing: The general rule for self-tapes is to frame yourself from the chest up, with your face clearly visible. Ensure that the camera is at eye level, so you appear natural and engaging. Don’t film from too high or too low—it should feel like a conversation with the viewer.
4. Filming the Performance
Here’s where it gets a little tricky when filming alone, but it’s certainly manageable. When you’re acting in front of a camera without another person to read lines with you, here are some tips to ensure you capture a strong performance:
- Memorize Your Lines: Ideally, you should memorize your lines to keep your focus on your performance. If you need a script for reference, use a tablet or place the script just off-camera. Avoid reading directly from a page held in front of you, as this can be distracting.
- Marking the Scene: If there are two or more characters in the scene, you can mark the space by imagining where the other character would be or by using objects to create reference points. For example, you could place a chair or stand-in object to visualize your interaction.
- Engage with the Camera: Remember that the camera is your audience. Engage with it like you would a person, maintaining eye contact (unless your scene requires you to look away or at something else). Be sure to fully immerse yourself in the character and the scene.
- Multiple Takes: Don’t be afraid to do multiple takes. Since you’re working alone, you can take as much time as you need to perfect your performance. Record a few different versions of the scene to choose the best one. This gives you flexibility and increases your chances of getting a solid take.
5. Editing the Self-Tape
After filming your performance, you may want to edit the footage to ensure it looks polished:
- Trimming: Cut out the beginning and end of the video to remove unnecessary footage (like the time it took to start or stop the recording).
- Adding a Slate: Often, a slate (where you introduce yourself by name, role, and other necessary details) is required at the beginning of the self-tape. This can be filmed separately and added during the editing process. Keep it brief and professional.
- Review: Watch the final tape through to ensure the video and audio are clear, the framing is correct, and your performance shines. Make sure the lighting is even and there’s no distracting background noise.
6. Submitting the Self-Tape
Once you’ve filmed and edited your self-tape, it’s time to submit it. Be sure to follow the casting director’s instructions on how to upload the file. Typically, self-tapes are submitted through email, online portals, or file-sharing platforms like Dropbox, WeTransfer, or Google Drive. Pay attention to any specific file size requirements, and be sure to send the video within the requested time frame.
7. Tips for Self-Taping Alone
- Stay Organized: Keep track of the different self-tapes you’ve created and the roles you’ve applied for. This will help you stay on top of submission deadlines.
- Stay Calm and Confident: Filming alone can feel a bit intimidating, but trust in your preparation. Don’t overthink it—let your natural talent shine through!
- Watch Other Self-Tapes: If you’re new to filming self-tapes, consider watching other self-tapes or audition videos to get a sense of how professionals approach their submissions. This can help you refine your own technique.
Conclusion
Yes, you can absolutely do a self-tape alone! With the right equipment, a bit of creativity, and a focused mindset, it’s entirely possible to create a professional and effective self-tape without a crew or fellow actors. By following the tips outlined here, you’ll be well on your way to submitting a strong self-tape that showcases your talent and increases your chances of landing the role. Happy filming!


