What is a Self-Tape Audition?
Everything you need to know
(By Tonya Tannenbaum)
 (Photo: Mart Production | Pexels)
A self-tape audition is a way for actors to audition for roles without being physically present at the casting location. Instead of attending an in-person audition, actors film themselves performing the audition material (usually sides or scenes provided by the casting director) and submit the video for consideration.
Self-tape auditions have become increasingly common, especially with advancements in technology making it easier to create high-quality videos. Actors typically receive audition instructions, including the script, character breakdowns, and technical requirements, from their agent or directly from the casting director. They then film themselves performing the scenes, ensuring good lighting, sound, and framing, and submit the video within the specified deadline.
Self-tape auditions offer several benefits, including flexibility for actors who may not be able to attend in-person auditions due to scheduling conflicts or geographical constraints. They also allow casting directors to review auditions at their convenience and often result in a larger pool of talent being considered for roles.
What should a self tape audition look like?
 (Photo: Anna Shvets | Pexels)
A well-done self-tape audition should closely resemble an in-person audition in terms of professionalism and presentation. Here are some key elements to consider when creating a self-tape audition:
Clear Instructions: Follow the audition instructions provided by the casting director or agent carefully. This includes the specific scenes or sides to perform, any character notes, technical requirements, and the deadline for submission.
Professional Setup: Choose a quiet, well-lit location for filming. Avoid distracting backgrounds and ensure that the focus remains on you. A plain background or a neutral setting is often preferred.
Good Lighting: Lighting is crucial for a clear and professional-looking video. Natural light is best, so try to film during the day near a window if possible. If not, use artificial lighting sources like lamps to ensure you’re well-lit and visible.
Clear Audio: Make sure your voice is clear and audible by minimizing background noise and using a good-quality microphone if available. Avoid filming in echoey or noisy environments.
Camera Setup: Use a tripod or stable surface to keep the camera steady. Position the camera at eye level and frame yourself from the waist up or in a medium shot, allowing the casting director to see your facial expressions and body language clearly.
Performance: Prepare your scenes thoroughly and deliver your lines convincingly. Stay true to the character’s emotions and intentions while showcasing your acting skills. Remember to maintain good eye contact with the camera and engage with the imaginary scene partner if applicable.
Multiple Takes: Don’t hesitate to do multiple takes until you’re satisfied with your performance. Review each take to ensure clarity, consistency, and authenticity.
File Format and Naming: Follow the specified guidelines for file format (commonly MP4) and naming conventions when saving your audition video. This helps casting directors organize and review submissions efficiently.
Introduction: Some auditions may require you to introduce yourself at the beginning of the tape. Keep it brief and professional, stating your name, the role you’re auditioning for, and any other relevant information.
Submission: Upload your self-tape audition to the designated platform or email it to the provided address before the deadline. Double-check that you’ve included all required information and attachments.
Do you introduce yourself in a self tape audition?

(Photo: PNW Production | pexels)
Whether or not to include an introduction in a self-tape audition can depend on the specific instructions provided by the casting director or the preferences of the production team. In some cases, casting directors may request actors to include a brief introduction at the beginning of the tape, while in other cases, they may prefer to focus solely on the performance of the audition material.
If the casting call specifies that an introduction is required, it’s important to keep it brief, professional, and relevant to the audition. Here’s a basic outline for a self-tape audition introduction:
Name: Start by stating your name clearly so that the casting director can easily identify you.
Role: Mention the role you’re auditioning for. This helps the casting director associate your performance with the specific character they’re casting.
Relevant Information (if applicable): If there are any additional details you think are important to mention, such as previous experience relevant to the role or any special skills you possess that are relevant to the character, you can briefly mention them. However, keep it concise and focused on what’s most relevant to the audition.
Here’s an example of a simple introduction:
“Hello, my name is [Your Name]. I’m auditioning for the role of [Character Name]. Thank you for considering me for this opportunity.”
If there are no instructions regarding introductions provided with the audition material, it’s generally advisable to follow the standard format unless you have specific reasons to deviate from it. Ultimately, the goal is to present yourself in a professional manner and make it easy for the casting director to evaluate your audition effectively.
Do you have to memorize lines for a self tape audition?
 (Photo: Pavel Danilyuk | Pexels)
Memorizing your lines for a self-tape audition is generally preferable. Memorizing your lines allows you to focus more on your performance and the emotional nuances of the scene rather than on reading from a script. This can result in a more natural and compelling audition.
When you’ve memorized your lines, you’re more likely to have a deeper understanding of the character and the context of the scene. This can help you connect with the material on a deeper level and deliver a more authentic performance.
Being familiar with your lines can also boost your confidence during the audition, allowing you to focus on showcasing your talent rather than worrying about forgetting your lines or stumbling over them.
That said, if you’re unable to fully memorize your lines due to time constraints or other reasons, it’s still possible to give a strong audition by familiarizing yourself as much as possible with the material. This may involve rehearsing your lines repeatedly until you’re comfortable with them, using cue cards or prompts to help you if necessary, and focusing on delivering a convincing performance despite not being fully off-book.
Can I self tape on my phone?
 (Photo: Tracy Le Blanc | Pexels)
Yes, you can absolutely self-tape auditions using your phone! In fact, smartphones have become increasingly popular tools for self-tape auditions due to their convenience and the high-quality cameras they often feature. Here are some tips for self-taping with your phone:
Choose the Right Location: Select a quiet, well-lit location for filming. Natural light is often the best option, so try to film near a window during the day. Avoid noisy or cluttered backgrounds that could distract from your performance.
Use a Tripod or Stable Surface: Keep your phone steady by using a tripod or placing it on a stable surface. This helps prevent shaky footage and ensures a professional-looking video.
Frame Yourself Properly: Position your phone at eye level and frame yourself from the waist up or in a medium shot, allowing the casting director to see your facial expressions and body language clearly.
Ensure Good Audio Quality: Clear audio is essential for a successful self-tape audition. Minimize background noise and speak loudly and clearly. Consider using an external microphone if available to improve audio quality.
Record in Landscape Orientation: For most auditions, it’s best to record your video in landscape orientation (horizontally) rather than portrait orientation (vertically). This provides a wider frame and is more conducive to viewing on a computer or TV screen.
Review and Edit: After recording your audition, review the footage to ensure everything looks and sounds good. You can use editing apps or software to trim the video, adjust the lighting or sound if necessary, and add any necessary title cards or information.
Submit According to Instructions: Follow the specific instructions provided for submitting your self-tape audition. This may include file format requirements, naming conventions, and where to send the video.
What is the best color for self tape background?
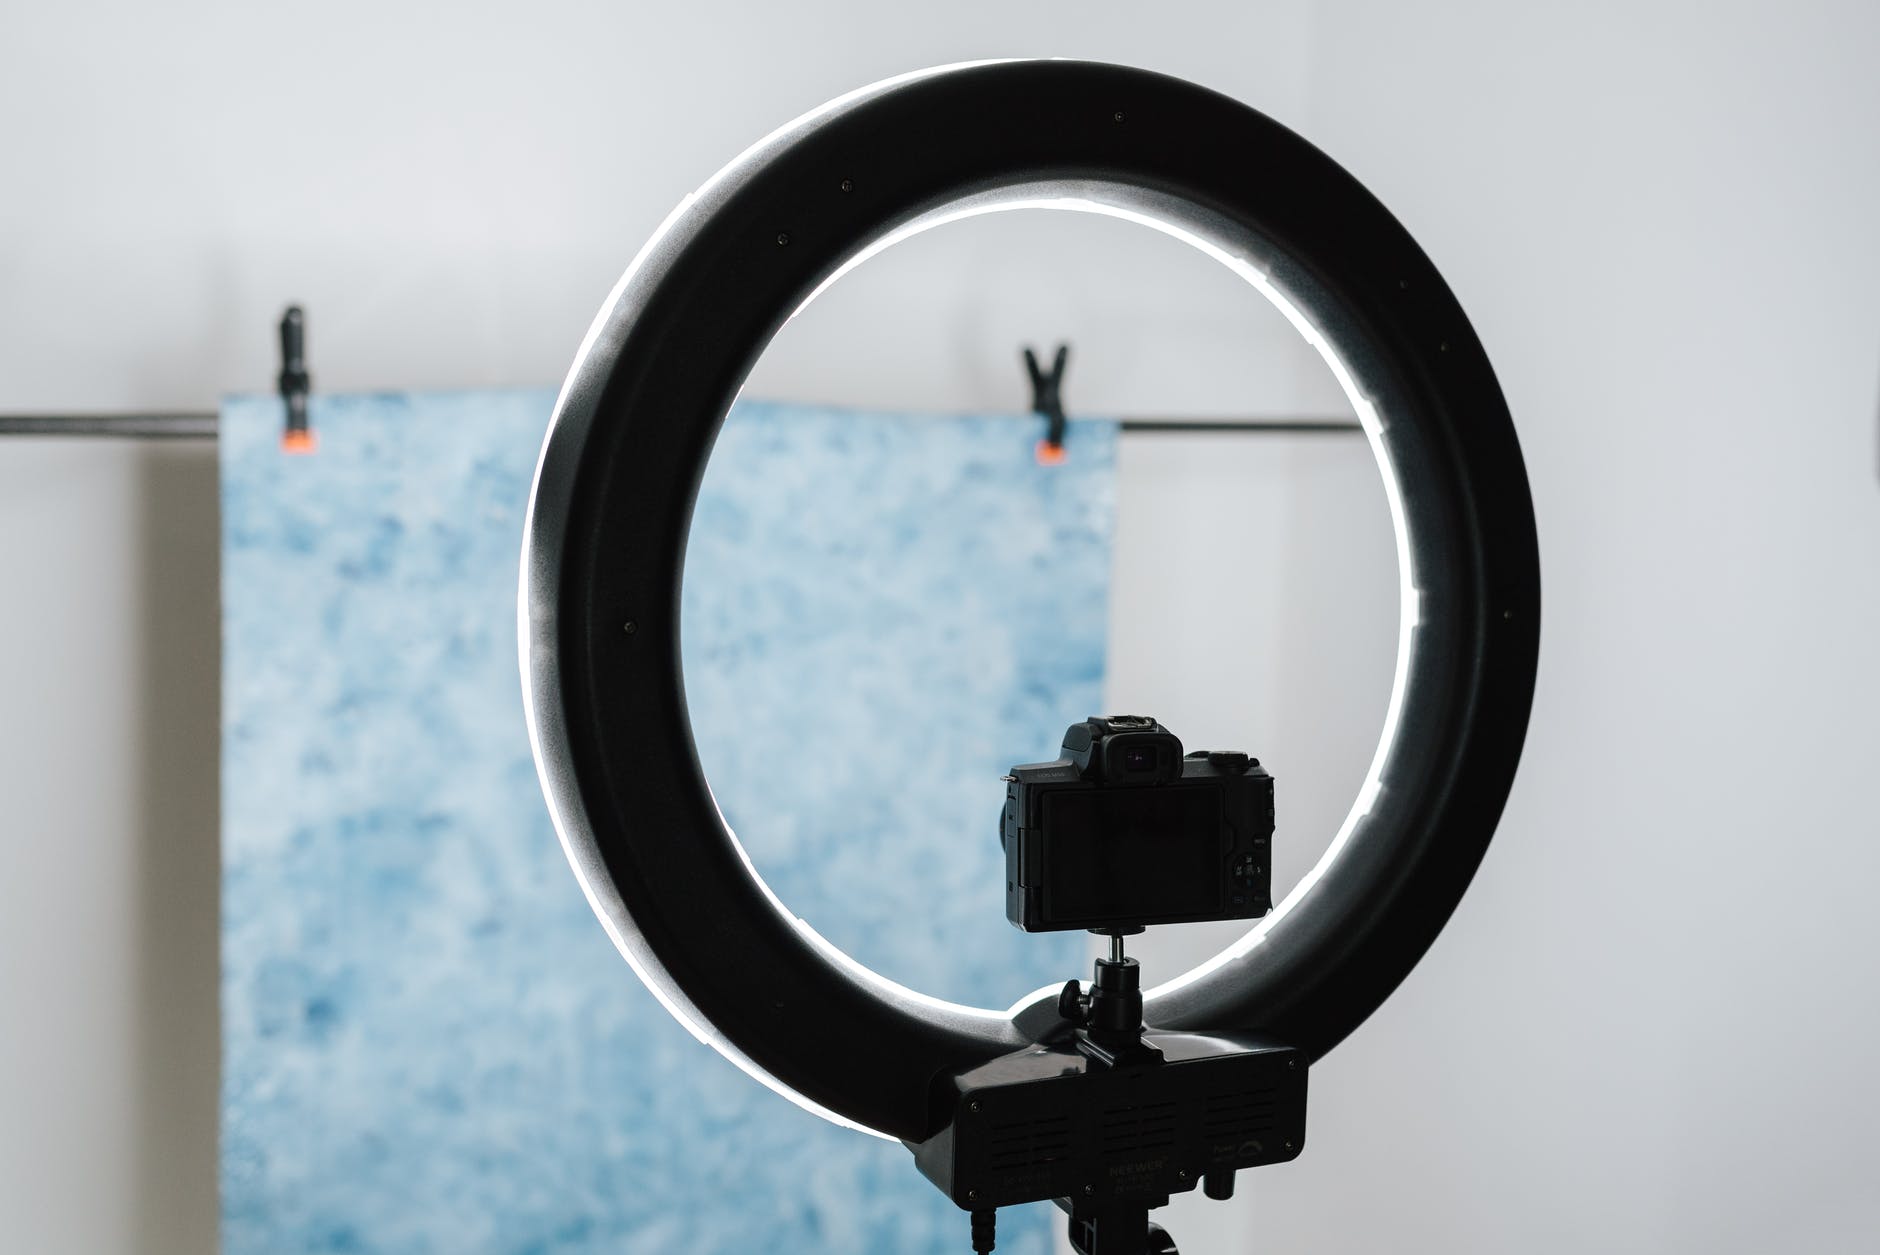 (Photo: Anete Lusina | Pexels)
The best color for a self-tape background is typically a neutral tone that doesn’t distract from your performance or clash with your clothing. Here are some popular options:
Light Gray: Light gray is a versatile choice that provides a clean and professional backdrop without drawing too much attention to itself. It complements a wide range of skin tones and clothing colors.
Light Blue: Light blue can create a calm and pleasing backdrop for your audition. It’s a subtle color that adds a touch of warmth without overpowering the scene.
Cream or Beige: Cream or beige backgrounds are soft and neutral, allowing the focus to remain on your performance. They provide a gentle contrast without being too stark.
Light Green: Light green can add a hint of freshness and vitality to your audition tape. It’s a soothing color that can help create a positive atmosphere.
White: While white backgrounds can sometimes appear too stark on camera, they can work well if you’re wearing darker clothing or if you want a minimalist look. Just be mindful of ensuring proper lighting to avoid overexposure.
Avoid using overly vibrant or busy backgrounds, as they can be distracting and take attention away from your performance. Additionally, be mindful of any patterns or textures in the background that may detract from the focus on you.
Is it better to sit or stand for self tape?
 (Photo: Anna Shvets | Pexels)
Standing can help you project energy and presence, which can be beneficial for scenes that require a strong, dynamic performance. Standing also allows you to use your full body for expressive gestures and movement, which can enhance your performance and create a more dynamic presence on camera.
Sitting can be more comfortable and conducive to relaxation, which may help you feel more at ease and focused during the audition. Sitting can also provide a sense of stability and control, allowing you to focus more on your performance without worrying about maintaining balance or posture.
Ultimately, the decision to sit or stand should be based on what best serves the requirements of the scene, your comfort, and your interpretation of the character. Experiment with both options during rehearsals to see which one allows you to deliver your best performance.
How long should a self tape audition be?
 (Photo by Insung Yoon on Unsplash)
The ideal length for a self-tape audition can vary depending on the specific requirements of the casting notice, the scenes provided, and any instructions given by the casting director. However, as a general guideline:
Monologues: If you’re performing a monologue for your audition, it’s typically recommended to keep it around 1-2 minutes in length. This allows you to showcase your acting skills and range without overstaying your welcome.
Scene Work: For scene work, such as performing sides provided by the casting director, the length of your self-tape audition will depend on the duration of the scenes. Aim to perform the entire scene as it’s written, unless otherwise instructed.
Total Duration: In general, the total duration of your self-tape audition should typically range from 1-3 minutes. This allows enough time to showcase your performance while keeping the video concise and engaging for the casting director.
It’s important to follow any specific instructions provided by the casting director regarding the length of your audition. If no specific duration is mentioned, use your judgment to present a performance that is thorough and engaging without being overly long.
How do you stand out in a self tape audition?
 (Photo: Andrea Piacquadio | Pexels)
Here are 10 things you can do:
Thorough Preparation: Take the time to thoroughly prepare for your audition by carefully studying the sides or scenes provided, understanding the character’s motivations and objectives, and practicing your lines and performance. The more prepared you are, the more confident and polished your audition will be.
Make Bold Choices: Don’t be afraid to make bold choices in your performance that showcase your creativity and interpretation of the character. Casting directors appreciate actors who take risks and bring something unique to the role.
Showcase Your Range: If the audition allows, try to showcase your range as an actor by demonstrating versatility in your performance. This could involve exploring different emotions, character traits, or acting styles to highlight your capabilities.
Capture Attention Early: Grab the casting director’s attention right from the start of your audition. Engage the viewer with a strong opening that draws them into the scene and sets the tone for your performance.
Create a Memorable Character: Bring the character to life in a way that leaves a lasting impression. Develop a distinct personality, mannerisms, and vocal characteristics that make your portrayal memorable and unique.
Utilize Your Environment: Use your filming environment creatively to enhance your audition. Consider how props, costumes, and set design can add depth and authenticity to your performance.
Pay Attention to Detail: Sweat the small stuff. Pay attention to details like facial expressions, body language, and vocal inflections to add layers to your performance and make it more nuanced and compelling.
Be Professional: Present yourself professionally throughout the audition process, from your initial submission to any communication with casting directors or production teams. This includes following instructions carefully, meeting deadlines, and conducting yourself with professionalism and courtesy.
Submit a High-Quality Tape: Ensure that your self-tape audition meets technical standards for video and audio quality. A well-lit, clear video with good sound quality allows casting directors to focus on your performance without distractions.
Be Authentic: Above all, be true to yourself and your instincts as an actor. Authenticity and sincerity shine through in auditions and can leave a lasting impression on casting directors.
What happens after self tape audition?
 (Photo: Anna Shvets | Pexels)
After you submit a self-tape audition, the casting process typically continues as follows:
Review by Casting Director: The casting director or casting team will review all submitted auditions. They will assess each actor’s performance, suitability for the role, and overall fit with the project’s requirements.
Callbacks: If the casting director is impressed with your audition, you may be called back for a second audition or a callback. This could involve additional scenes or further exploration of the character’s dynamics. Callbacks are an opportunity for casting directors to see how actors respond to direction and to make final decisions on casting.
Further Auditions: Depending on the complexity of the casting process and the number of roles to be filled, there may be multiple rounds of auditions, including chemistry reads with other actors, meetings with producers or directors, or screen tests.
Decision-making Process: Casting decisions are typically made by the casting director in collaboration with the production team, including the director, producers, and sometimes the studio or network executives. They consider various factors such as talent, chemistry between actors, scheduling availability, and budget constraints.
Offers and Negotiations: Once casting decisions are finalized, offers are extended to the selected actors. This may involve negotiation of terms such as compensation, contract details, and scheduling.
Rejection Notices: Actors who were not selected for the role may receive rejection notices from the casting director or their representation. While it’s always disappointing not to get a role, it’s important to maintain professionalism and keep auditioning for other opportunities.
Preparation for Production: After the cast is finalized, actors begin preparations for production, which may include script readings, rehearsals, costume fittings, and other pre-production activities.
Filming or Production: The project moves into the production phase, where filming or recording takes place according to the production schedule. Actors work with the director and production team to bring their characters to life on set or in the recording studio.


