


How to Make a Self-Tape
Self-tapes have become an essential part of the audition process in today’s entertainment industry, allowing actors to showcase their talents remotely and giving casting directors the ability to review performances from anywhere in the world. Whether you’re a seasoned professional or just starting out, knowing how to create a high-quality self-tape can make a huge difference in landing your next role. Here’s a step-by-step guide on how to make a self-tape that stands out.
1. Prepare Your Space
The first step in making a self-tape is creating a suitable environment. Your space should be clean, quiet, and well-lit, with minimal distractions. Here are some key factors to consider:
- Lighting: Good lighting is crucial. Natural light is ideal, but if that’s not available, use soft artificial lights. Position lights at 45-degree angles to your face, one on either side, to avoid harsh shadows. A simple setup with two lights (one for each side) and a third behind the camera can create a flattering look.
- Background: Choose a neutral, uncluttered background. A plain wall, a curtain, or even a backdrop specifically designed for self-tapes works best. Avoid busy or distracting backgrounds that might take attention away from your performance.
- Sound: Ensure your space is quiet. Turn off any appliances, close windows, and keep pets or other people from disturbing the recording. Clear audio is just as important as a clear visual.
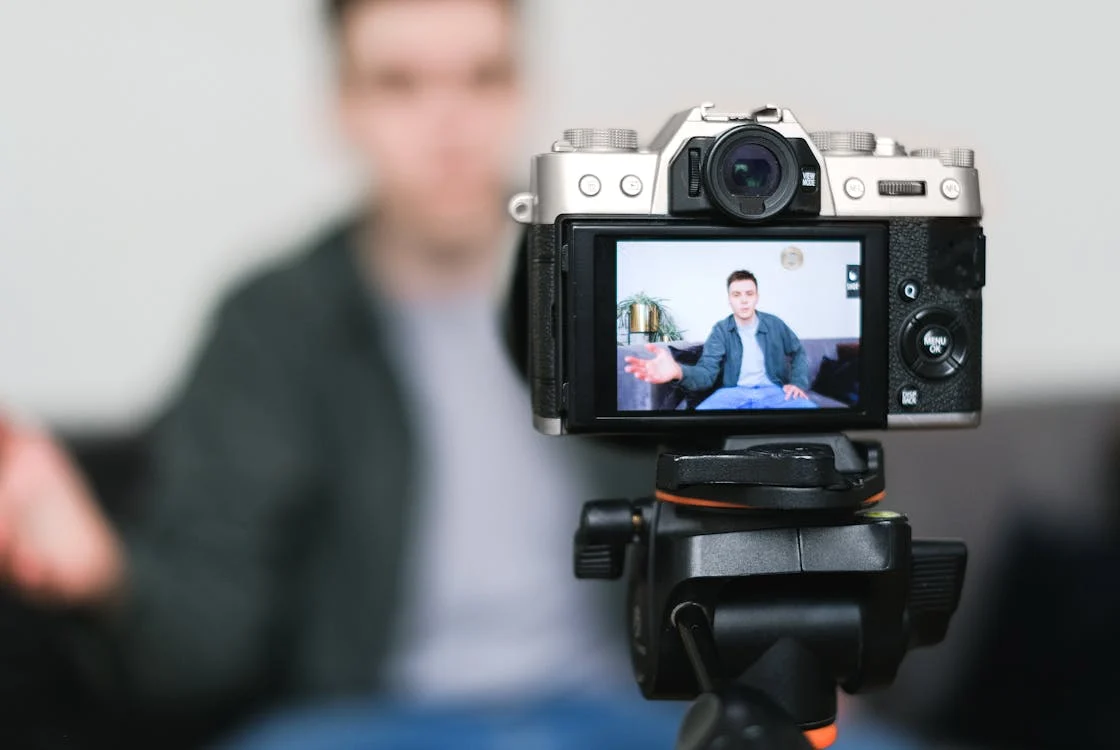
2. Set Up Your Camera
While you don’t need an expensive camera, your footage should be clear and well-framed. Most people use their smartphones these days, and that can be perfectly acceptable with the right setup. Here’s how to get the best shot:
- Camera Angle: Position the camera at eye level to create a direct, engaging connection with the viewer. Avoid filming from too high or too low, as this can distort your performance. Ideally, you want your head and upper torso in the frame.
- Stability: Make sure your camera is steady. Use a tripod if you have one, or prop your phone up on a stable surface. Avoid handheld shots, as they can make your performance feel shaky and unprofessional.
- Resolution: Set your camera or phone to the highest resolution possible. You want the casting director to be able to see every detail of your performance clearly.
3. Review the Sides and Prepare Your Material
Before you start recording, take some time to thoroughly review your sides (the script or scene you’ll be performing). It’s essential to be familiar with your lines, but also to understand the context and emotion behind them. Here are a few tips to prepare:
- Understand the Scene: Know the story behind the scene, the character’s motivations, and the relationships they have with others. This will help you bring more depth to your performance.
- Rehearse: Run through your lines several times to ensure you’re comfortable with them. Practice in front of a mirror, record yourself on your phone, or work with a friend to get a feel for your delivery.
- Character Choices: Think about your character’s intentions, their emotional state, and how they would physically express themselves. Don’t be afraid to take risks in your performance, as long as it serves the material.
- Memorize Your Lines: While some self-tapes may allow you to read off-camera, it’s best to memorize your lines as much as possible. Looking directly at the camera and delivering your lines naturally makes a huge difference.
4. Perform the Scene
Once your space and camera are set up, it’s time to focus on your performance. Here’s how to make the most of it:
- Be Authentic: Casting directors want to see you at your best, but they also want to see authenticity. Don’t worry about being perfect—focus on being honest and present in the scene.
- Focus on the Acting: While technical aspects like lighting and sound are important, your performance should always be the priority. Take your time and really connect with the material. If you make a mistake, don’t fret. Simply pick up and continue; you can always redo it.
- Know When to End: When you finish the scene, make sure to pause for a moment before stopping the camera. Don’t immediately rush to end the tape, as it may create an awkward cut. A natural, calm ending shows professionalism.
5. Record Multiple Takes
It’s always a good idea to record a few takes of your scene. You may feel more comfortable in the second or third attempt, and having options to choose from gives you a better chance of capturing the best version of your performance.
- Variation: Try experimenting with different approaches in each take. For example, play with the pacing, the emotional intensity, or the physicality of the scene. This gives you options for the casting director to choose from.
- Playback: After each take, watch the footage to ensure everything looks good. Pay attention to your facial expressions, body language, and the overall feel of the performance. Don’t be afraid to retake it if something doesn’t feel right.
6. Editing and Submitting Your Self-Tape
Once you’ve finished recording, it’s time to review your footage and edit your self-tape for submission.
- Trim the Footage: Remove any unnecessary parts at the beginning or end of the tape, such as adjusting the camera or setting up the scene. Your tape should begin and end cleanly.
- Keep It Simple: Unless the casting director specifically requests additional materials, keep the video short and to the point. Usually, a self-tape should be between 1 to 3 minutes long.
- File Format: Ensure your file is in a commonly accepted format (MP4 or MOV) and not too large to upload. Casting directors often have guidelines for the file size and format, so be sure to follow their instructions.
- Slate: Most self-tapes will require a slate at the beginning, which is simply you introducing yourself. This usually includes stating your name, the role you’re auditioning for, and sometimes your height or location.
7. Submit Your Self-Tape
After your self-tape is ready, you’ll submit it according to the casting director’s instructions. Make sure to follow the submission guidelines exactly as given. This could involve uploading the tape to a casting website, sending it via email, or using a file-sharing service.
Always double-check that the file is correctly named (typically with your name and the role you’re auditioning for) and that the video is correctly formatted.
8. Follow Up and Stay Professional
Once submitted, give the casting director time to review your tape. If you haven’t heard back within the timeframe specified, a polite follow-up is okay, but always remain professional. It’s important to remember that casting is a subjective process, and sometimes the right role just isn’t a perfect fit for you, even if you gave a great performance.
Conclusion
Making a self-tape is an essential skill for modern actors, and creating a standout one requires a mix of preparation, technical know-how, and a solid performance. By setting up your space properly, rehearsing diligently, and giving a genuine performance, you’ll be well on your way to submitting a self-tape that showcases your talent in the best light. Whether you’re submitting for an indie film, a TV series, or a commercial, following these steps will help you put your best foot forward and increase your chances of success.
Acting Magazine Newsletters
Never miss out on the best from Acting Magazine.