


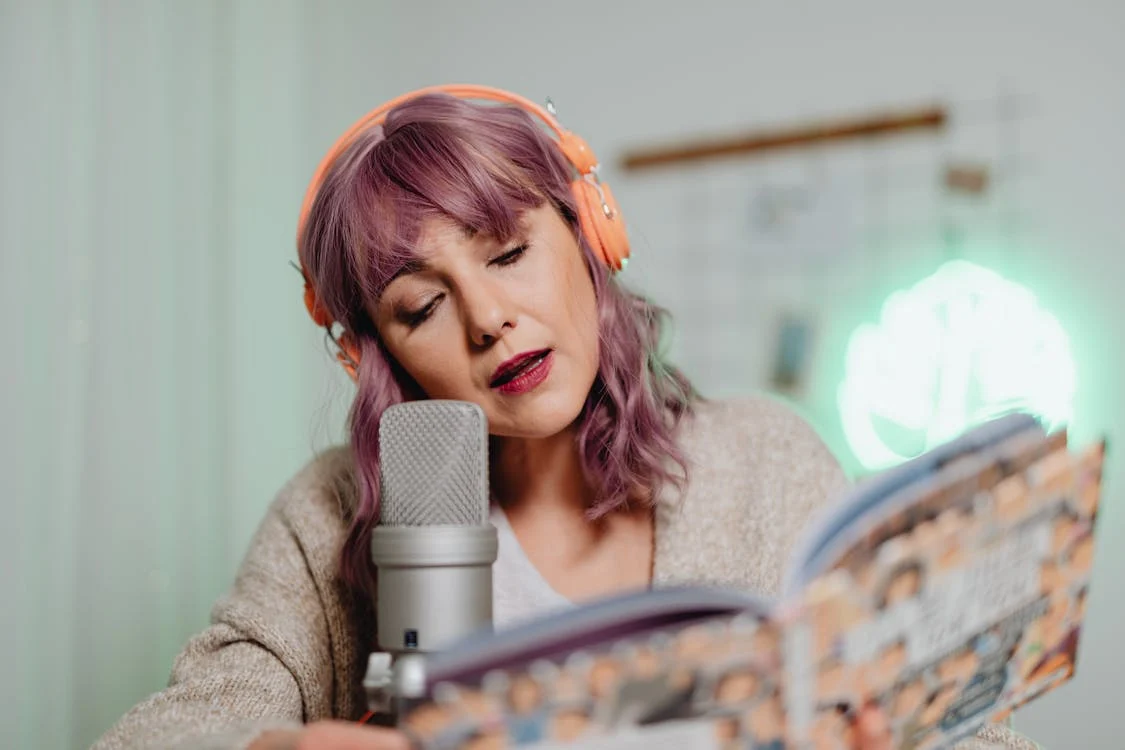
Can You Do a Self-Tape Alone?
Self-tapes have become an essential part of the casting process in the entertainment industry, especially with the rise of remote auditions. While it’s common to have a friend, family member, or fellow actor assist you in filming your self-tape, many actors wonder: Can you do a self-tape alone? The short answer is yes! With the right preparation, equipment, and techniques, it’s entirely possible to create a high-quality self-tape by yourself.
In this article, we’ll explore how you can successfully film a self-tape on your own and provide tips to ensure that your performance shines, even when you don’t have a partner to assist.
Why Filming Alone Can Be Beneficial
While having someone help with filming a self-tape can make things easier, there are several reasons why doing a self-tape alone can actually be a positive experience:
- Complete Control Over Your Performance: Without someone else behind the camera, you have the freedom to experiment with different takes and make immediate adjustments as needed. You can focus entirely on your performance without worrying about coordinating with someone else or waiting for cues.
- No Need to Rely on Others: If you don’t have a reliable partner to assist you, doing the tape alone can eliminate scheduling conflicts or delays. You can film when it’s convenient for you, whether early in the morning or late at night.
- Improved Self-Sufficiency: Filming on your own forces you to learn more about the technical aspects of self-taping. Understanding how to frame yourself properly, set the lighting, and choose the right background gives you more independence and confidence in your future auditions.
How to Film a Self-Tape Alone
While doing a self-tape alone might sound intimidating at first, it is entirely feasible. Here are some tips and steps to help you set up your self-tape and capture the best version of your performance.
1. Set Up the Camera
The key to a successful self-tape is a good video quality, so it’s important to ensure your camera is in the right position. Use a tripod or any stable surface to hold your camera or phone steady.
- Camera Angle: Set the camera at eye level, about 3 to 4 feet away from you. The shot should frame you from the chest up (unless the casting director specifies otherwise). This creates a clean, professional-looking shot.
- Camera Focus: Make sure your camera or phone is focused on you, not the background. If using a phone, lock the focus before you begin recording. Test the camera’s quality by recording a few seconds before the real take.
2. Lighting Matters
Good lighting is crucial for a successful self-tape. Proper lighting highlights your face and ensures the casting director can see you clearly.
- Natural Light: If possible, position yourself near a window with natural light. This will give a soft and flattering look. Avoid harsh light directly overhead or behind you, as it can create shadows or make you appear silhouetted.
- Artificial Lighting: If natural light isn’t an option, consider using affordable softbox lights or ring lights. These provide even lighting and help eliminate shadows. Ensure the light source is in front of you, not behind you.
3. Create a Simple Background
You want the focus to be on you, so choose a clean, clutter-free background. A plain wall or a neutral backdrop works best. Avoid busy patterns, bright colors, or anything that distracts from your performance.
If you’re filming at home and don’t have a perfect space for recording, use a simple piece of fabric or a backdrop screen to cover any distractions. This will ensure that the background complements your performance rather than taking attention away from it.
4. Audio Considerations
Good audio is just as important as good video. Casting directors need to hear every word clearly, so check that your microphone is working well.
- Use an External Microphone: If possible, use an external microphone or a lapel mic to ensure high-quality sound. If you’re filming on your phone, make sure the phone’s microphone is unobstructed and positioned near your mouth.
- Minimize Background Noise: Record in a quiet environment where background noise won’t interfere. Avoid places with loud street traffic, household appliances, or pets. If you’re recording in a room with echo, try using soft materials like blankets or pillows to absorb sound.
5. Mark Your Starting Position
Before you begin recording, physically mark your starting position. This can be done with a piece of tape on the floor or by imagining where you should stand. The goal is to ensure you stay in the right spot for the duration of your audition.
6. Perform and Record
Once you’re set up, it’s time to focus on your performance.
- Frame Yourself: Make sure you are centered in the camera frame, with a little bit of space above your head and your shoulders visible. Keep in mind that casting directors want to see your facial expressions, body language, and energy.
- Do a Test Run: Before the final take, perform a brief test to make sure everything looks and sounds good. Adjust your positioning, lighting, or sound as needed.
- Self-Taping Tools: Consider using self-taping apps or tools that help with the filming process. Some apps allow you to control the camera remotely or set automatic timers to start recording, making the process smoother.
7. Check the Final Take
Once you’ve recorded your performance, review the footage. Make sure the sound is clear, the lighting is flattering, and you’re framed correctly. If everything looks good, then you’re ready to send the tape. If not, retake it until you’re happy with the result.
8. Editing
In most cases, minimal editing is required for self-tapes. Simple cuts to remove any mistakes at the beginning or end of your video are usually enough. There’s no need for flashy editing effects—casting directors want to see you in your raw form.
Use basic video editing software (even smartphone apps work fine) to trim the footage. Ensure that the video file format is compatible with the submission requirements specified by the casting director.
Conclusion
Yes, you absolutely can film a self-tape alone! With the right equipment, proper setup, and a focus on performance, you can create a high-quality self-tape that reflects your acting ability. While it may feel challenging at first, the process becomes easier as you learn the ins and outs of self-taping. Remember, casting directors are looking for authenticity and skill—your acting is the star of the tape, and with a little technical know-how, you can make sure your performance is showcased in the best light possible.
By taking control of your self-taping process, you can not only save time but also develop a valuable skill that will serve you well in your acting career.
Acting Magazine Newsletters
Never miss out on the best from Acting Magazine.