Question:
Should self-tapes be filmed vertically or horizontally?
(By Jim Webb)
 (Photo: George Milton | Pexels)
The set-up of your self-tape can significantly impact its professionalism and effectiveness. Here’s a quick breakdown for understanding the best practices for filming self-tapes.
Industry Standards
Horizontal Orientation
The industry standard for self-taping is horizontal (landscape) orientation. Here’s why:
Screen Compatibility: Most viewing screens, including televisions, computer monitors, and even many mobile devices, are designed for horizontal viewing. Horizontal orientation ensures your tape fits well on these screens without awkward black bars on the sides.
Cinematic Look: Horizontal framing aligns with the aspect ratio used in film and television production, providing a more professional and polished appearance.
Better Composition: A horizontal frame allows for better composition of your shot, giving you more space to work with and making it easier to position yourself within the frame.
Vertical Orientation

When It’s Used
While horizontal is the norm, there are specific instances where vertical (portrait) orientation might be used:
Social Media Content: Platforms like Instagram and TikTok, which are optimized for vertical videos, might require vertical orientation for specific types of content or marketing materials.
Specific Casting Requests: Occasionally, casting directors or agencies may request a vertical self-tape for particular projects or promotional purposes. Always follow the specific instructions provided.
Some Considerations…
Lighting and Framing
Regardless of orientation, ensuring good lighting and proper framing is crucial. Here’s how to achieve that:
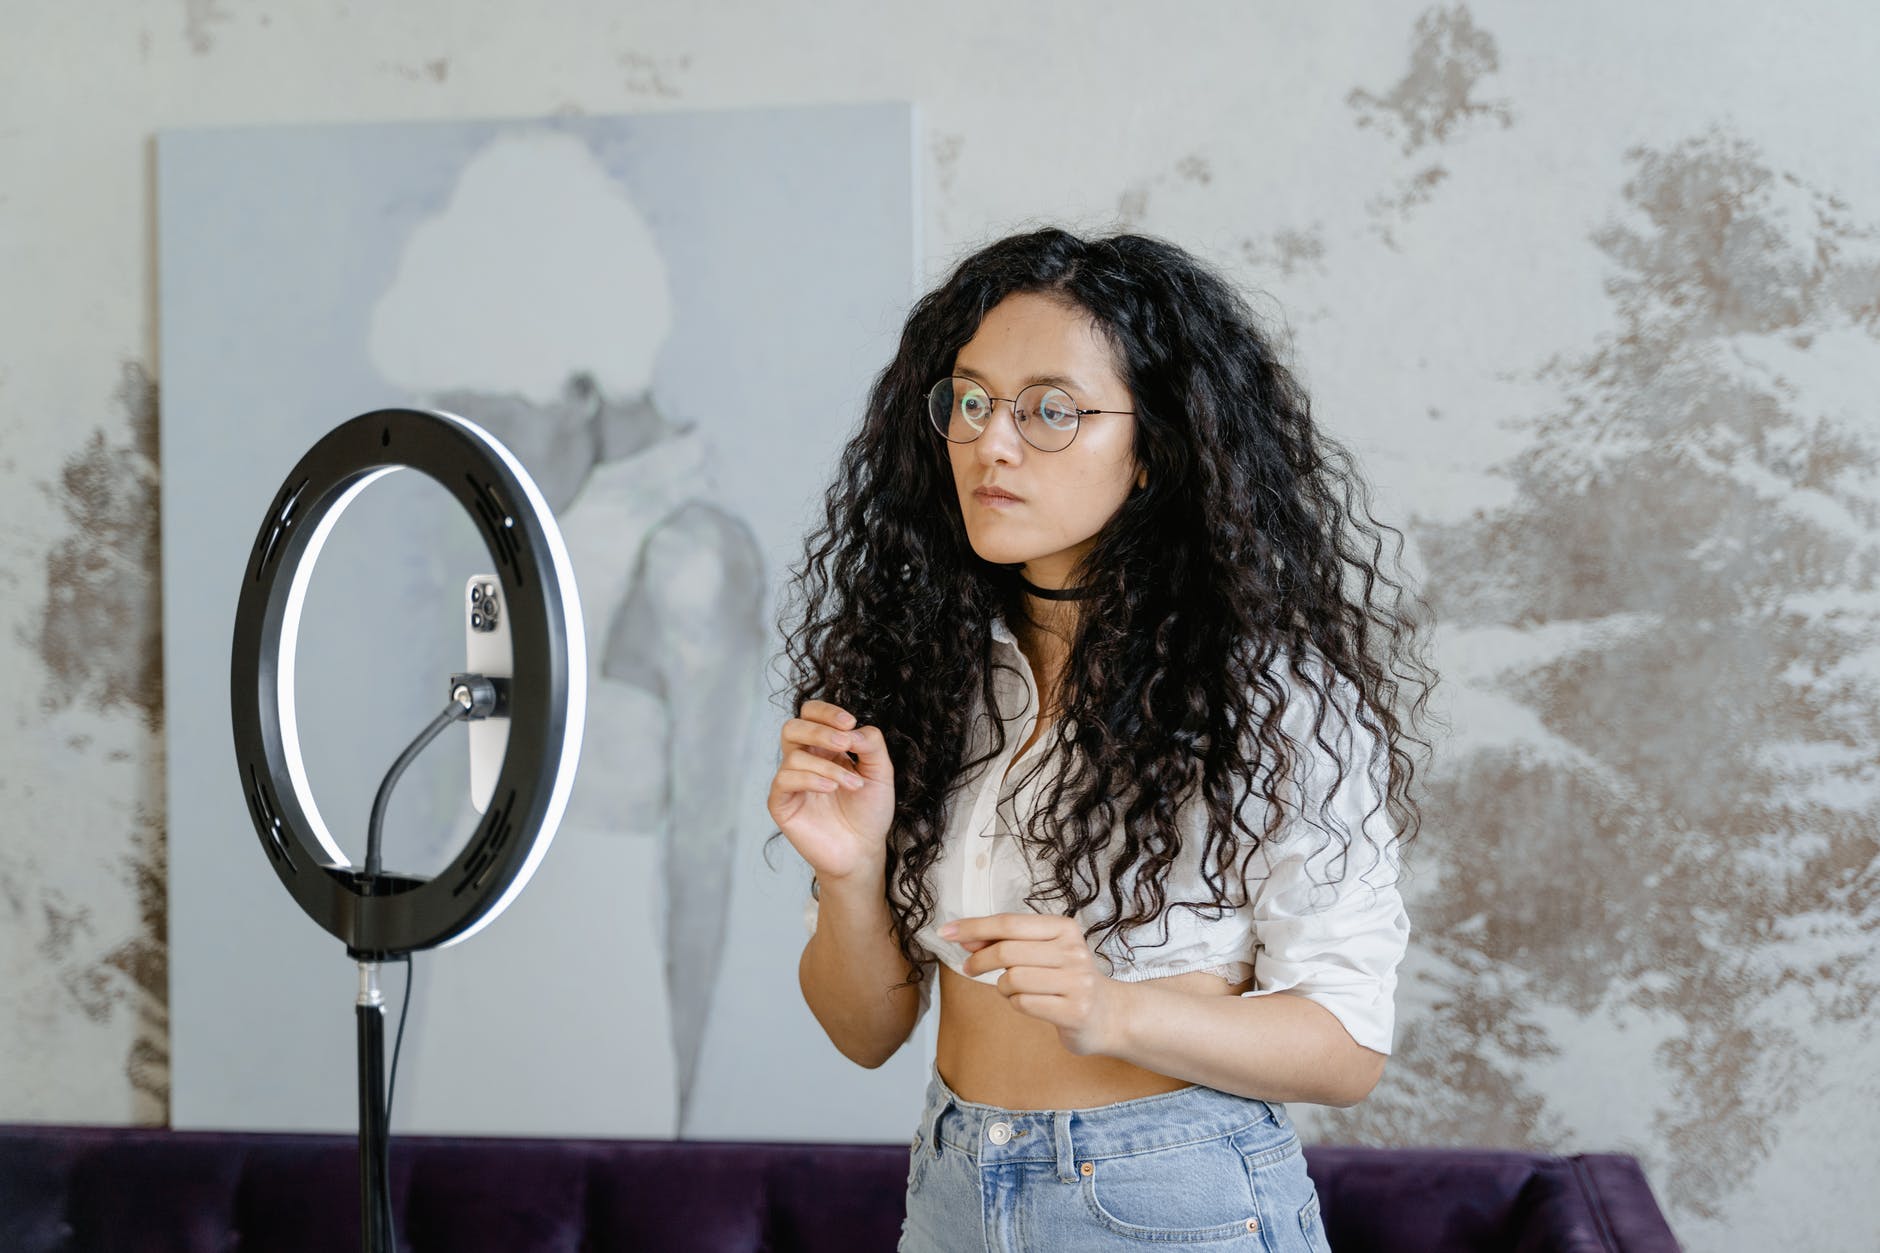
Horizontal Setup: Position the camera at eye level and ensure you are well-lit from the front. The horizontal frame should capture you from the chest up (a medium shot) or closer, depending on the scene’s requirements. Make sure there’s enough space on either side of you without excessive empty space.
Vertical Setup: If you must film vertically, ensure the camera is still at eye level. The frame should capture your head and shoulders, similar to a traditional portrait. Pay close attention to lighting to avoid shadows and ensure your face is clearly visible.
Adapting to Different Devices

Filming on Smartphones
Most self-tapes are filmed on smartphones due to their convenience and high-quality cameras. Here’s how to handle orientation on mobile devices:
Horizontal Mode: Hold or mount your phone horizontally to align with industry standards. Many smartphones have a lock feature to keep the screen in landscape mode, preventing accidental shifts to vertical.
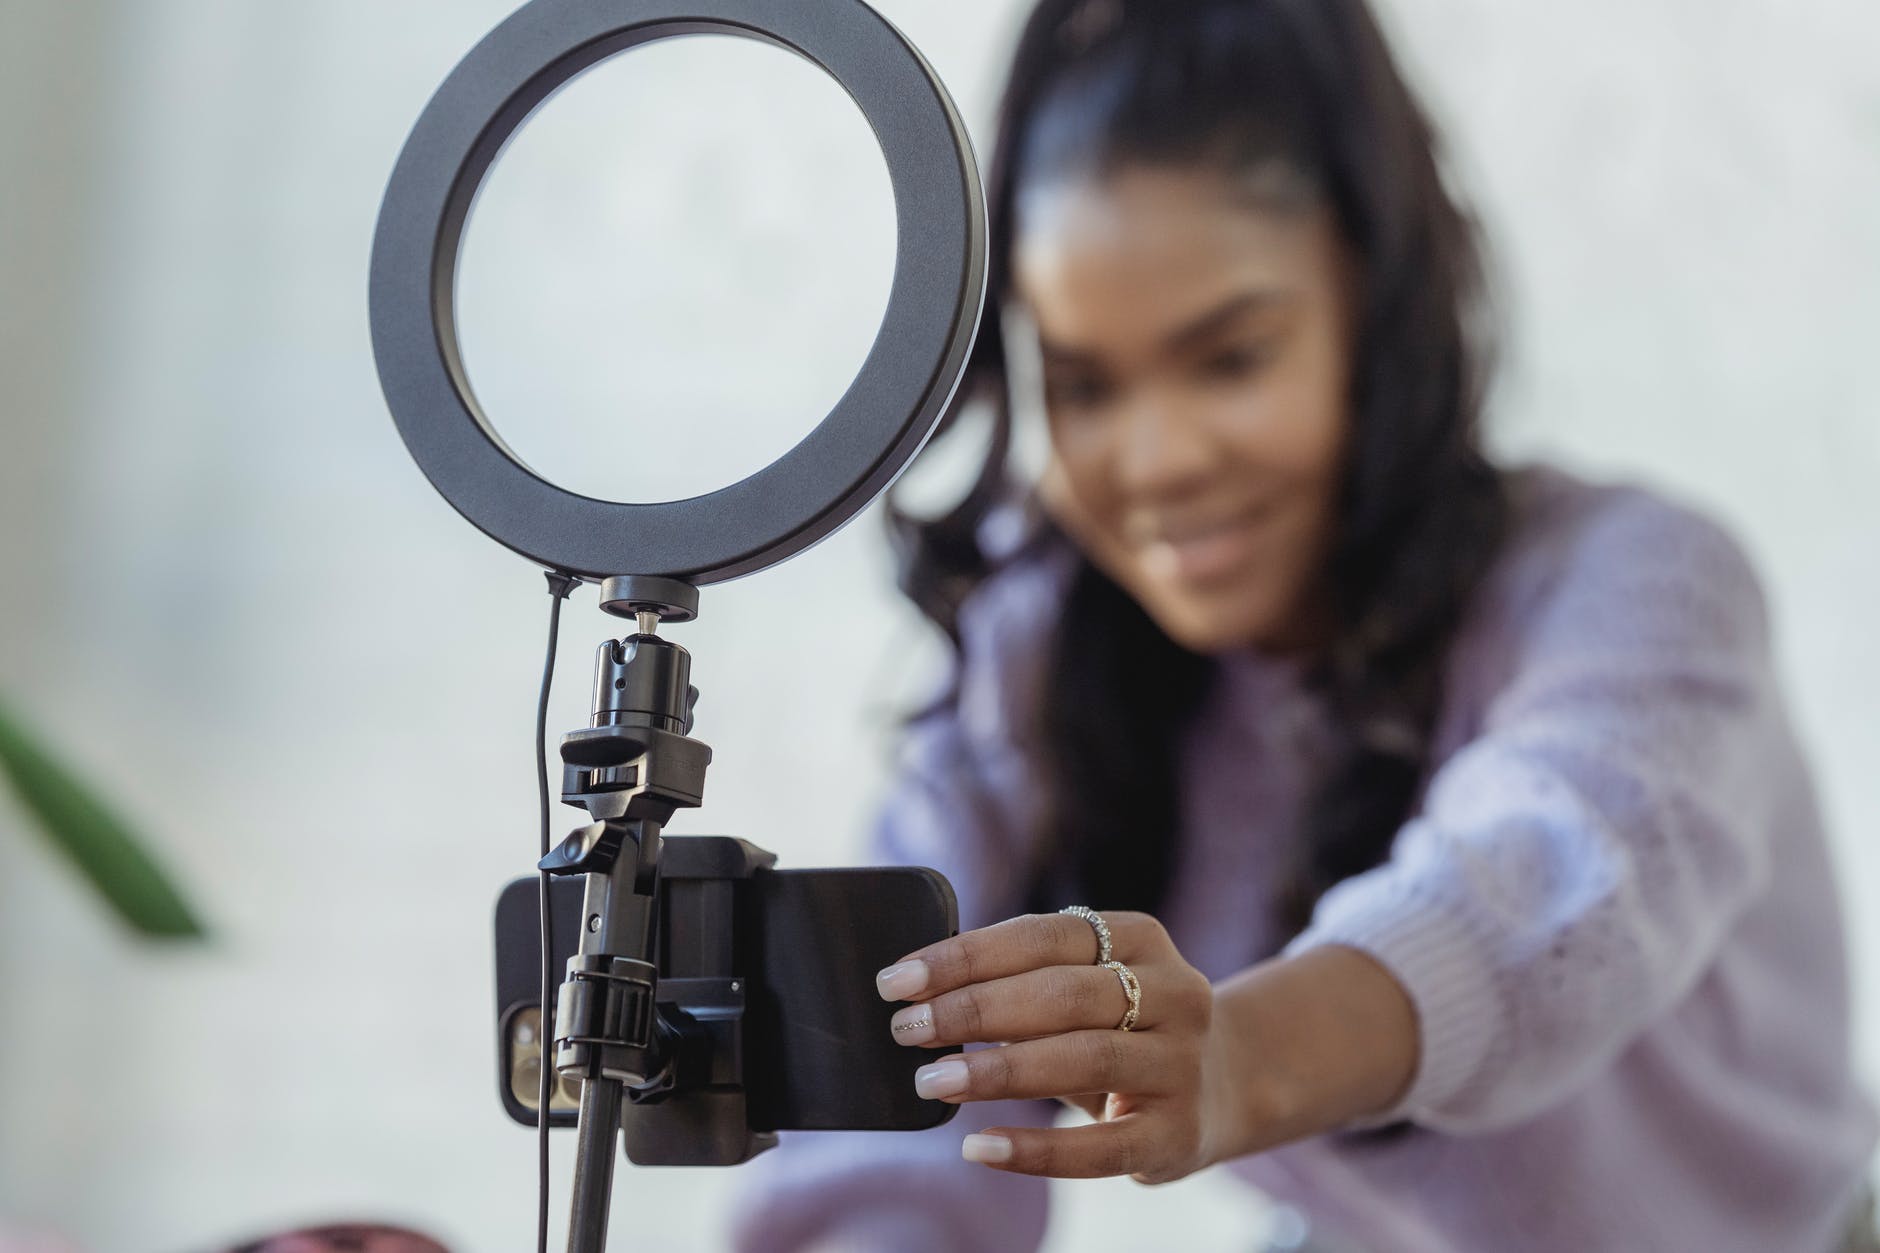
Stabilization: Use a tripod or phone mount to keep your shot steady. Avoid holding the phone in your hand, as this can result in shaky footage.
Common Mistakes to Avoid
Ensuring Professionalism
To ensure your self-tape meets industry standards, avoid these common mistakes:
Vertical Framing for Standard Auditions: Unless explicitly requested, do not submit vertical self-tapes for traditional film, television, or theater auditions.
Improper Composition: Ensure your face is the focal point, and avoid too much headroom or cutting off parts of your head or shoulders.
Poor Lighting: Make sure you are well-lit, with no harsh shadows or overexposure, which can distract from your performance.
So, there you have it:
For most self-tapes, horizontal is the preferred standard filming, aligning with industry practices and screen compatibility. It provides a professional and polished appearance, ensuring your audition is presented in the best possible light. However, always pay attention to specific casting instructions, as there may be instances where vertical orientation is required.


